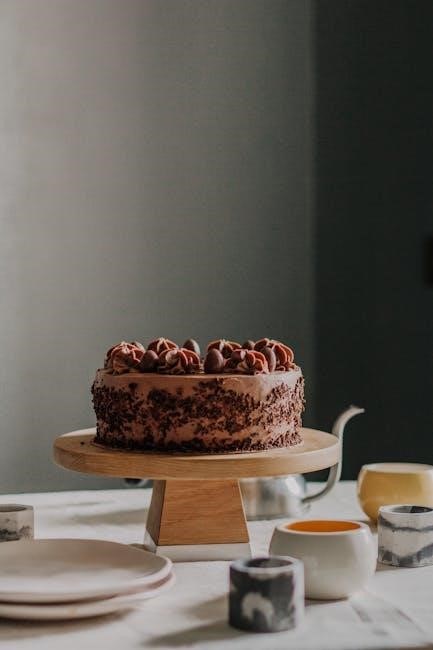
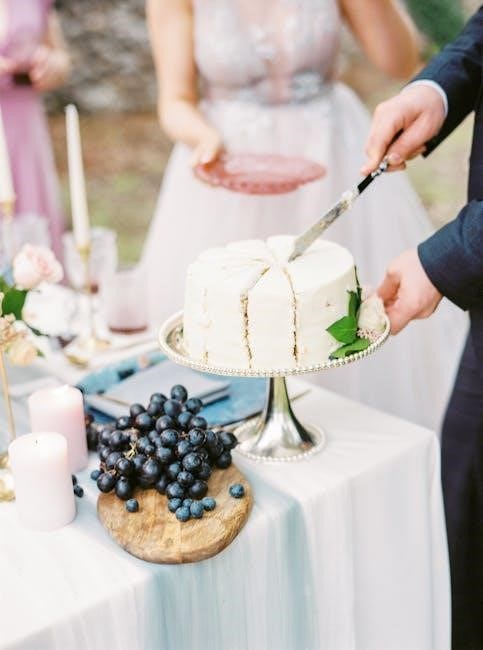
Mastering the art of cutting a round cake ensures even, attractive slices for any occasion․ Learn techniques to achieve uniform portions and preserve the cake’s presentation effortlessly․
1․1 The Importance of Proper Cake Cutting
Proper cake cutting is essential for ensuring even portions and maintaining the cake’s visual appeal․ A well-cut cake not only enhances the presentation but also prevents messy crumbs and uneven distribution․
It guarantees that every guest receives a neatly portioned slice, preserving the integrity of the cake’s structure and frosting․ Proper cutting also minimizes waste and ensures the cake remains fresh for longer․
By mastering the techniques, you can create a professional-looking dessert that impresses both in taste and appearance․
1․2 Benefits of a Well-Planned Cutting Guide
A well-planned cutting guide ensures consistency and precision when slicing a round cake․ It helps achieve uniform portions, making every slice equal in size and appearance․ This not only enhances the presentation but also ensures fairness, guaranteeing each guest receives an equally delicious piece․ A cutting guide minimizes waste, reduces crumbs, and maintains the cake’s structural integrity․ It also streamlines the process, saving time and effort․ With a clear plan, you can maximize servings and preserve the cake’s freshness, making it a stress-free experience for any celebration․
Preparing the Cake for Cutting
Chilling the cake firms it for cleaner cuts, while essential tools like a serrated knife ensure precision․ A smooth surface aids even slicing, preserving presentation and structure․
2․1 Chilling the Cake for Easier Slicing
Chilling the cake in the refrigerator for about 30 minutes firms the layers, making it easier to slice cleanly․ This step is especially crucial for multi-layer cakes, as it prevents the cake from crumbling or tearing․ A cold cake holds its shape better, allowing for precise cuts and even portions․ For frosted cakes, chilling sets the frosting, reducing smears and ensuring a neater appearance when slicing․ This simple prep step significantly improves the overall cutting experience․
2․2 Essential Tools for Cutting a Round Cake
To cut a round cake effectively, you’ll need a few key tools․ A sharp, long serrated knife is ideal for making clean cuts through multiple layers․ A cake cutter guide or a rotating cake stand can help maintain precision and evenness․ Additionally, soaking the knife in warm water before cutting ensures smooth slicing, especially for frosted cakes․ These tools work together to make the process efficient and result in professional-looking slices every time․
Basic Methods of Cutting a Round Cake
Discover the fundamental techniques for cutting a round cake, including slicing into triangular wedges, creating square pieces by cutting into quarters, and exploring mixed methods for variety․
3․1 Slicing into Even Triangular Pieces
To achieve even triangular slices, start by cutting the cake in half through its center․ Then, make perpendicular cuts from the center line outward, creating equal angles for uniform wedges․ Use a serrated knife and a ruler or guide for precision․ For larger cakes, score the top first to mark your cuts․ Chilling the cake beforehand ensures cleaner cuts and reduces crumbling․ This method is ideal for serving classic wedge slices, perfect for birthdays, weddings, or any celebration․ Pro tip: For smaller slices, cut each wedge in half again before serving․
3․2 Cutting into Quarters for Square Slices
Cutting a round cake into quarters creates square slices, maximizing servings and ensuring each piece is clean and sturdy․ Start by cutting the cake in half vertically, then cut each half horizontally into even strips․ Stack the strips and slice them into squares․ For precision, use a cake cutter guide or serrated knife․ This method is ideal for large gatherings, as it yields more slices with less waste․ Tip: Chilling the cake firms it up, making the cuts neater and preventing crumbs from spreading․ This technique is especially useful for layer cakes, ensuring each square slice retains its structure and frosting integrity․
3․3 Mixed Cutting: Wedges and Squares
Mixed cutting combines wedges and squares for variety․ Start by cutting the outer ring into triangular wedges, then slice the inner circle into square pieces․ This method offers a visually appealing presentation and caters to different preferences․ Use a serrated knife to score guidelines for uniformity, ensuring even sizes․ For larger cakes, this technique maximizes the number of servings while maintaining neatness․ Tip: Soak the knife in warm water to glide smoothly through the cake, minimizing crumbs and smears for a professional finish․
Determining the Number of Slices
Calculate servings by cake size: 6-inch (5-6 slices), 8-inch (8-12), and 10-inch (20-24)․ Use a guide for precise, uniform cuts and professional presentation every time․
4․1 Calculating Servings Based on Cake Size
Calculating servings is essential for ensuring everyone gets a fair share․ A 6-inch cake typically yields 5-6 slices, while an 8-inch cake serves 8-12 people․ Larger cakes, such as 10-inch or 12-inch, provide 20-24 and 28-32 slices, respectively․ Use a cake cutting guide or measure evenly to achieve consistent portions․ This method ensures precision and avoids uneven slices, making it ideal for events or gatherings․ Proper calculation guarantees professional presentation and satisfaction for all guests․
4․2 Adjusting Slice Sizes for Different Occasions
Adjusting slice sizes allows flexibility for various events․ For weddings or formal gatherings, smaller, uniform slices are ideal, while larger slices suit casual parties․ Use a cake cutting guide or knife marks to ensure consistency․ For smaller cakes, prioritize even wedges, and for larger ones, consider rectangular cuts to maximize servings․ This adaptability ensures every occasion is catered to perfectly, maintaining both presentation and guest satisfaction․
Scoring the Cake for Even Slices
Scoring the cake with a knife creates guidelines for clean, precise cuts․ This technique ensures uniform slices and reduces crumbs, making the cutting process efficient and neat․
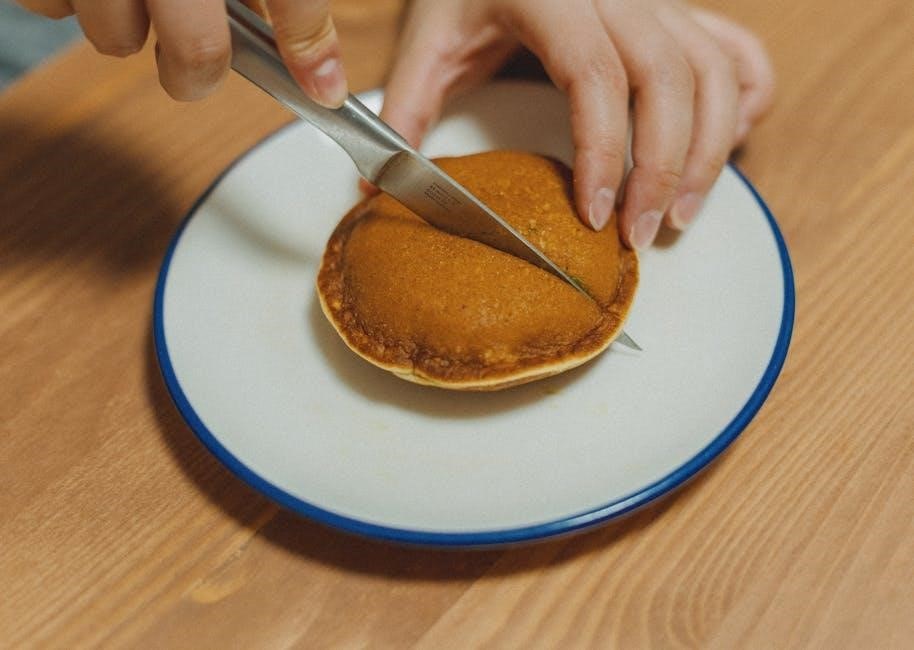
5․1 Using a Knife to Mark Guidelines
Using a sharp serrated knife, lightly score the cake to create guidelines for even slicing․ Start by cutting a line down the center, then mark additional lines at equal intervals․ For uniformity, soak the knife in warm water to ensure smooth cuts․ This technique helps prevent crumbs and ensures clean, precise slices․ Scoring also allows for better control, making it easier to achieve consistent portion sizes․ Always use a long knife to cut through all layers in one motion for professional results․
5․2 Scoring Techniques for Uniformity
Scoring techniques are essential for achieving uniform slices․ Start by marking a center line with a serrated knife, then create additional lines at equal angles from the center․ For larger cakes, score concentric circles to guide radial cuts․ This method ensures even distribution and prevents uneven portions․ Lightly pressing the knife into the frosting or cake surface helps maintain precision․ Scoring also reduces crumbs and mess, making the cutting process cleaner and more efficient․ These techniques guarantee professional-looking results every time you slice your round cake․
Cutting the Cake into Wedges
Cutting a round cake into wedges involves slicing from the center outward․ Use a sharp serrated knife to create clean, even cuts, ensuring uniform portion sizes and crisp edges․
6․1 How to Achieve Clean, Crisp Cuts
Achieving clean, crisp cuts in a round cake requires precision and the right tools․ Begin by chilling the cake to firm the layers, making it easier to slice without crumbling․ Use a long, sharp serrated knife, preferably soaked in warm water beforehand to glide smoothly through the cake․ Start by scoring a guideline across the top, then make steady, even cuts along the marked lines․ This method ensures each wedge is uniform and visually appealing, preserving the cake’s integrity and presentation․ Proper technique prevents crumbling and smearing, delivering professional-looking results every time․
6․2 Preventing Crumbs and Messy Edges
To prevent crumbs and messy edges when cutting a round cake, ensure the cake is well-chilled, as this firms the layers and reduces crumbling․ Use a sharp, serrated knife and warm it under running water or in a dish of hot water to improve glide․ Wipe the knife clean between cuts to avoid transferring crumbs․ Score the cake lightly before cutting to guide your knife and maintain even pressure for smooth, precise slices․ This technique minimizes crumbs and ensures clean, polished edges for a professional finish․
Square or Rectangular Pieces
Cutting a round cake into square or rectangular pieces maximizes servings and ensures clean, even portions․ This method is ideal for large gatherings and formal events․
7․1 Maximizing Servings with Rectangular Cuts
Cutting a round cake into rectangular pieces is an efficient way to maximize servings․ Start by cutting the cake in half or quarters, then make perpendicular slices to create uniform rectangular slices․ This method reduces waste and ensures each piece is clean and evenly sized․ Rectangular cuts are ideal for large gatherings, as they provide more servings and a neater presentation compared to triangular wedges․ This technique is especially useful for formal events or when serving a crowd․
7․2 Tips for Neat, Even Square Slices
To achieve neat, even square slices from a round cake, score the cake first to mark your cutting lines․ Use a serrated knife and a cutting guide for precision․ Cut straight down, applying gentle pressure, and avoid sawing motions to prevent crumbling․ Chilling the cake beforehand can help maintain clean edges․ This method works best for smaller cakes or when you want uniform, bite-sized portions for events or gatherings․ Square slices are ideal for presentations and ensure everyone gets an equal share․
Cutting Multi-Tiered Round Cakes
Cutting multi-tiered round cakes requires precision and care to maintain structural integrity․ Each tier should be separated and sliced individually for clean, even portions and a polished presentation․
8․1 Separating Tiers Before Cutting
Before cutting a multi-tiered cake, carefully separate each tier using a sharp knife or cake leveler․ This prevents structural damage and ensures each layer remains intact․ Gently slide a serving spatula under each tier to lift and transfer it to a sturdy surface․ Once separated, each tier can be cut individually, allowing for precise control over portion sizes and maintaining the cake’s visual appeal; This step is crucial for clean, professional-looking slices․
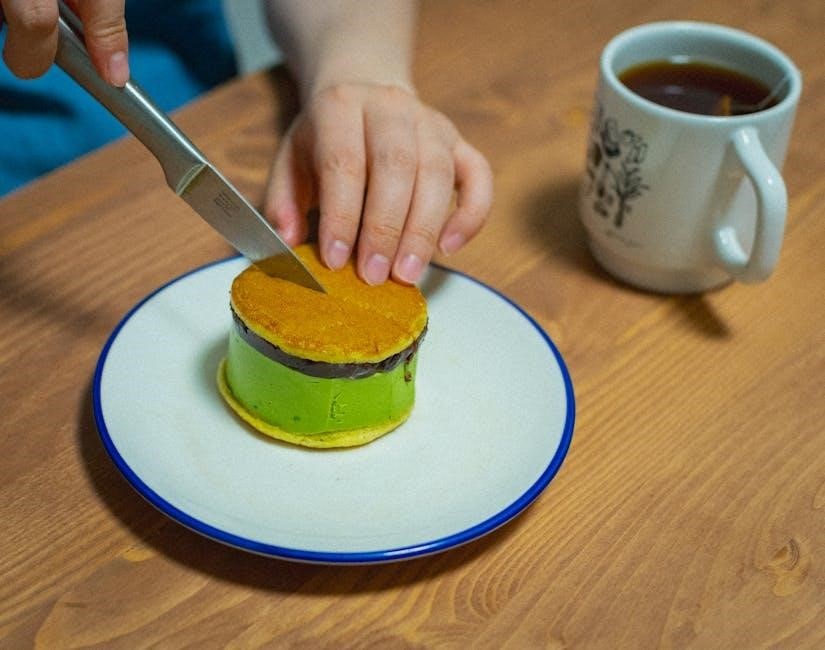
8․2 Cutting Each Tier Individually
Cutting each tier individually ensures precision and prevents the cake from collapsing․ Use a sharp serrated knife to score guidelines on the top of each tier, marking where you intend to make cuts․ For even slices, start by cutting the tier in half, then quarters, and continue dividing each section evenly․ Chilling the tier briefly can firm the cake, making it easier to slice cleanly․ Place the tier on a sturdy cake stand or serving plate for better access․ Serve immediately or store leftover slices in an airtight container․
Frosting Considerations
Frosting smears can ruin the presentation․ Use a heated knife for clean cuts․
This ensures even slices and maintains frosting integrity for a professional finish․
9․1 Avoiding Frosting Smears While Cutting
Avoiding frosting smears is crucial for a clean presentation․ Use a sharp, heated knife to glide smoothly through the cake․ Dip the knife in warm water and wipe clean between cuts to prevent frosting from sticking․ This method ensures even, professional slices without smudging․ Additionally, chilling the cake briefly can firm up the frosting, making it easier to cut cleanly․ These techniques help preserve the cake’s appearance and maintain its appeal for guests․
9․2 Maintaining Frosting Integrity
Maintaining frosting integrity ensures your cake looks pristine․ Use a serrated knife and gentle sawing motions to minimize frosting disruption․ Avoid applying too much pressure, which can push frosting to the sides․ If using a cake cutter guide, align it carefully to prevent uneven frosting distribution․ For multi-tiered cakes, cut each tier separately to maintain even frosting coverage; These techniques help preserve the cake’s decorative appeal and ensure each slice looks as good as the whole cake did before cutting․
Advanced Cutting Techniques
Master radial slicing and spiral cutting for even, visually appealing portions․ These techniques ensure precision and add creativity to your round cake presentation, elevating your cutting skills․
10․1 Radial Slicing for Uniform Pieces
Radiаl slicing involves cutting the cake in straight lines from the center to the edge, creating identical triangular wedges․ This method ensures each slice is uniform in size and shape, making it ideal for events where consistency is key․ To achieve this, use a sharp, long knife and a steady hand․ Start by marking the center of the cake, then slice outward in equal angles․ This technique minimizes crumbs and ensures every guest receives a perfectly proportioned piece․
10․2 Spiral Cutting for Unique Portions
Spiral cutting offers a creative way to portion a round cake, allowing for varied slice sizes and visually appealing results․ Start by making a small cut on the edge, then wind inward, rotating the cake as you go․ This technique creates spiral-shaped slices that vary in size while maintaining a uniform thickness․ Use a serrated knife for clean cuts and soak it in warm water to glide smoothly through the cake․ Spiral cutting is perfect for events where you want to offer guests a choice of portion sizes while adding an artistic touch to the presentation․
Handling Leftover Cake
Store leftover cake in an airtight container at room temperature or freeze for later․ Proper storage maintains freshness and ensures even reheating for future servings․
11․1 Proper Storage Methods
After cutting, store leftover cake in an airtight container or wrap it tightly in plastic wrap to maintain freshness․ For short-term storage, keep it at room temperature for up to 2 days․ For longer preservation, refrigerate or freeze the cake․ If freezing, portion the cake into slices or pieces, place them in freezer-safe bags, and label with the date․ This method prevents freezer burn and ensures easy reheating when needed․ Proper storage maintains the cake’s texture and flavor for future enjoyment․
11․2 Freezing and Reheating Techniques
For long-term preservation, freeze the cake by wrapping individual slices tightly in plastic wrap or aluminum foil, then placing them in freezer-safe bags․ This prevents freezer burn and maintains freshness․ When reheating, allow slices to thaw at room temperature or refrigerate overnight․ For a quicker method, warm slices in the microwave or oven at a low temperature to retain moisture and flavor․ Proper freezing and reheating ensure the cake remains fresh and delicious for future servings, preserving its texture and taste․
Frequently Asked Questions
Discover answers to common queries about cutting round cakes, from achieving even slices to minimizing crumbs, ensuring every question is addressed for perfect results every time․
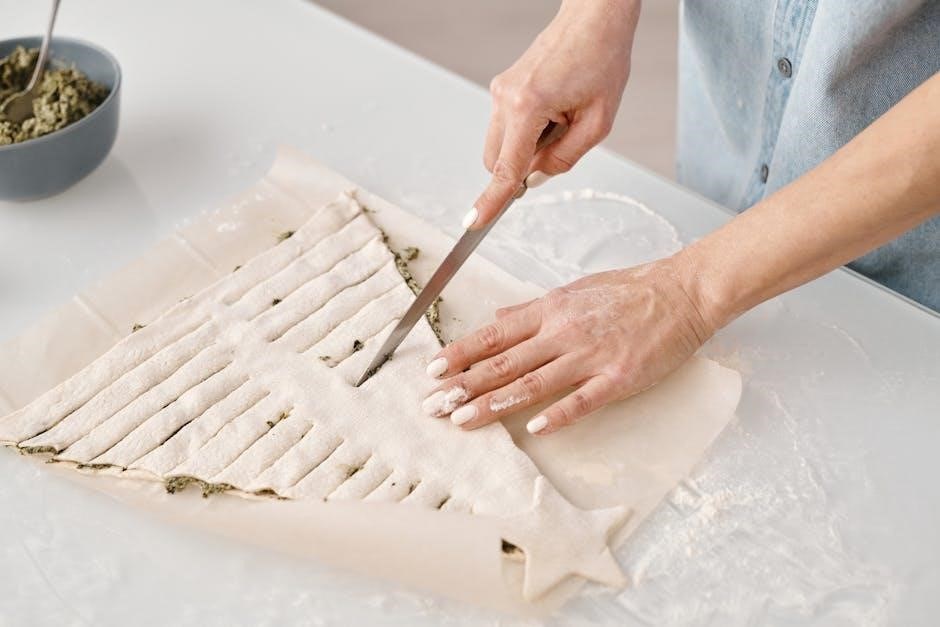
12․1 How to Cut a Round Cake into 10 Equal Pieces
To cut a round cake into 10 equal pieces, start by scoring the cake with a sharp serrated knife to create guidelines․ Fold a piece of parchment paper into 16 equal wedges and place it on top of the chilled cake․ Use the folds as a guide to make precise cuts, ensuring each slice is uniform․ Soak the knife in warm water periodically to maintain smooth, clean cuts․ This method guarantees even portions and a professional finish, perfect for any occasion․
12․2 Tips for Cutting Smaller Round Cakes
For smaller round cakes, precision is key to achieving clean, even slices․ Use a sharp, serrated knife and soak it in warm water to glide through the cake effortlessly․ Score the top lightly before cutting to guide your slices․ For 6-inch cakes, slice directly into wedges, while for slightly larger ones, consider cutting perpendicular to the center line for rectangular portions․ Chilling the cake first ensures firmness, making it easier to handle and slice without crumbling․ This method maximizes servings and maintains presentation․
Expert Tips and Tricks
Use a cake cutter guide for precision and soak your knife in warm water for smoother cuts․ Score the cake first, then slice confidently to avoid crumbs and uneven edges․
13․1 Using a Cake Cutter Guide for Precision
A cake cutter guide ensures uniform slices and precise cuts․ Place the guide on the cake, aligning it with the edges․ Use a serrated knife to follow the marked lines, applying gentle pressure․ For multi-tiered cakes, cut each tier separately․ This tool minimizes uneven slices and prevents crumbs from spreading․ Optional: Use a rotating cake stand for better visibility․ The guide helps maintain consistency, making it ideal for events requiring identical portions․ Achieve professional results effortlessly with this essential tool․
13․2 Soaking the Knife in Warm Water
Soaking the knife in warm water before cutting ensures smooth, clean slices․ The heat softens the frosting and cake, reducing crumbs and smears․ Dip the knife, wipe excess water, and cut gently․ Repeat as needed for consistent results․ This technique prevents the knife from dragging and keeps slices uniform․ Ideal for frosted cakes, it maintains frosting integrity and delivers professional-looking portions․ Regular re-soaking keeps the blade warm, ensuring effortless cuts throughout the process․
Mastering round cake cutting ensures perfectly even slices and a professional presentation․ With proper tools and techniques, anyone can achieve clean, uniform portions, making every celebration sweeter․
14․1 Summary of Key Cutting Techniques
Effective round cake cutting involves chilling the cake for cleaner slices, using a serrated knife, and scoring guidelines for precision; Techniques include slicing into even triangles, cutting into quarters for squares, or mixing methods․ Scoring and soaking the knife in warm water ensures crisp cuts․ Tools like cake guides enhance accuracy․ Proper methods prevent crumbs and frosting smears, while maximizing servings․ These techniques guarantee uniform, attractive slices for any occasion, making your cake presentation and serving a seamless success․
14․2 Final Thoughts on Perfecting Your Cake Cutting Skills
Perfecting round cake cutting requires practice and patience․ Essential techniques include chilling the cake, using a serrated knife, and scoring for even slices․ A cake cutter guide enhances precision, while soaking the knife in warm water ensures smooth cuts․ Experiment with methods like radial slicing or spiral cuts for unique portions․ Clean cuts and neat presentation elevate any celebration, making your round cake a memorable centerpiece․ With these skills, you’ll confidently serve beautiful, uniform slices every time․