Pentax K1000 User Manual: A Comprehensive Guide
This manual details the innovative features and functions of your new Pentax K1000. Prioritize safety; this 60.9MB resource, added September 24, 2020, offers complete guidance.
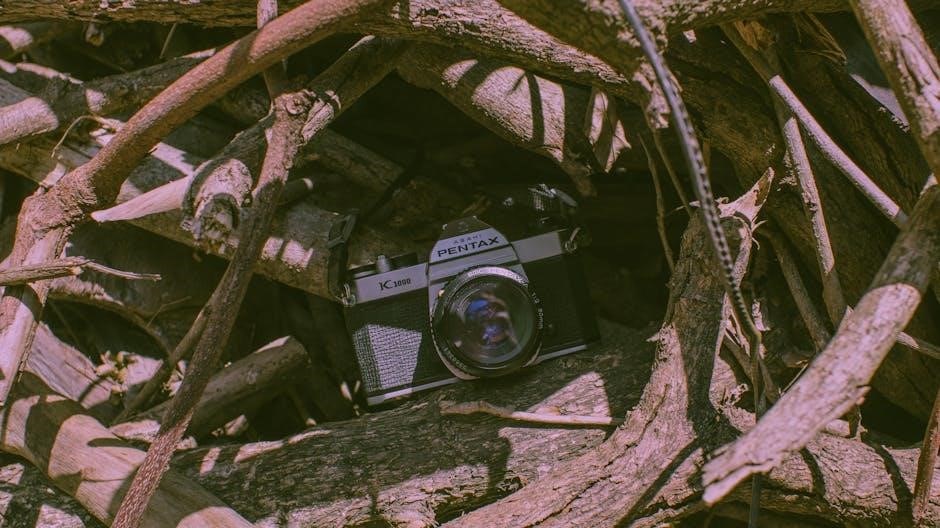
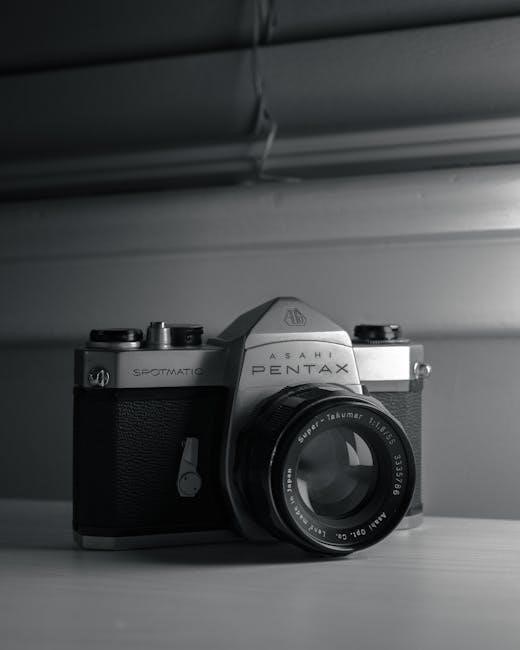
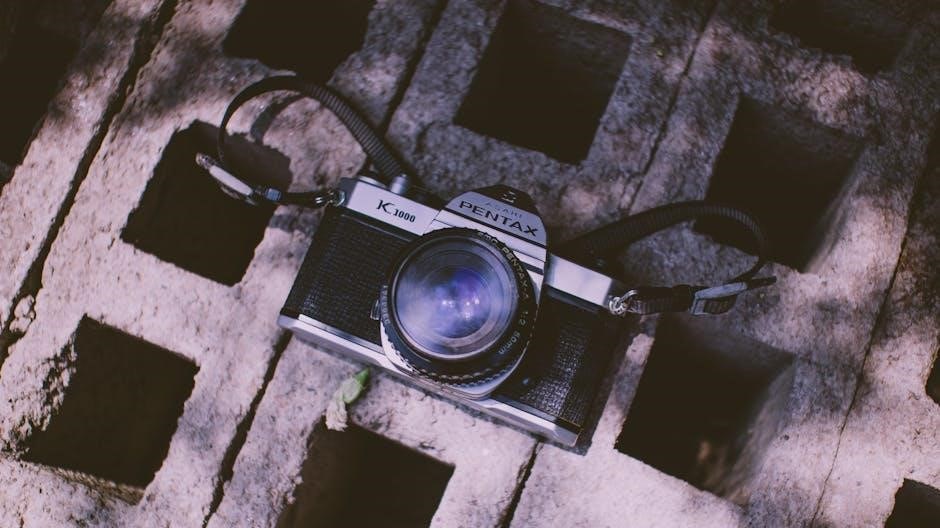
The Pentax K1000, a fully mechanical 35mm single-lens reflex (SLR) camera, represents a cornerstone in photographic education and a testament to enduring design. Introduced in 1976, it quickly became the go-to camera for students and enthusiasts alike, prized for its simplicity, reliability, and robust build quality. This user manual serves as a comprehensive guide to understanding and utilizing all aspects of this iconic camera.
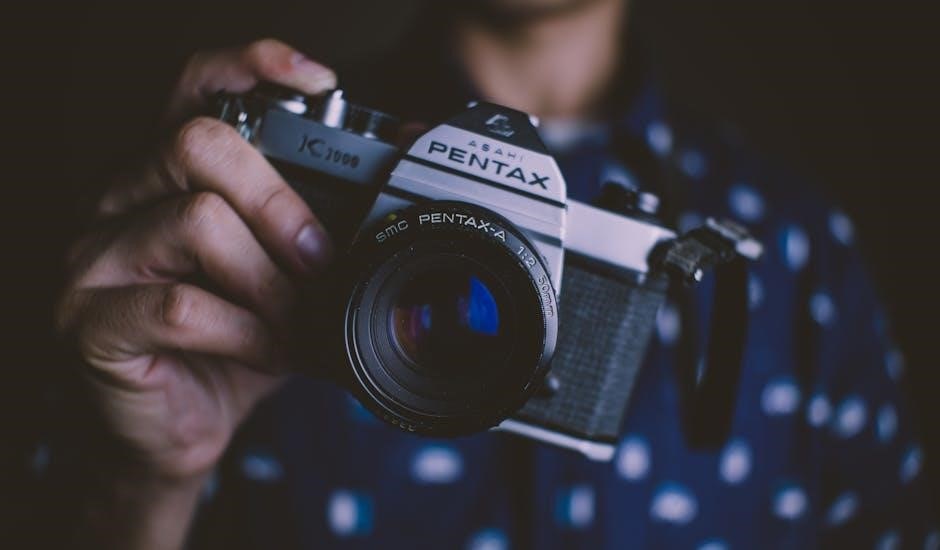
Whether you are a seasoned photographer revisiting a classic or a newcomer embarking on your analog journey, this manual will demystify the K1000’s controls and functions. We will explore its core components, from film loading and exposure control to focusing techniques and maintenance procedures. The Pentax K1000 offers a hands-on learning experience, fostering a deeper understanding of photographic principles. This guide, referencing resources added September 24, 2020, aims to empower you to unlock the full potential of this remarkable camera.
Historical Significance of the K1000
The Pentax K1000’s impact on photography education is undeniable. Introduced in 1976, it swiftly became the standard camera in countless photography courses, valued for its fully mechanical operation – requiring no batteries for basic function – and its clear, intuitive design. This reliability made it ideal for teaching fundamental photographic principles without the distractions of electronic complexities.
Its enduring popularity stemmed from its robust construction and affordability, allowing students to learn without fear of damaging expensive equipment. The K1000’s simple controls fostered a direct connection between the photographer and the process, emphasizing aperture, shutter speed, and focusing. Resources, like those cataloged on September 24, 2020, demonstrate continued interest. The camera’s legacy extends beyond classrooms; it empowered generations of photographers, solidifying its place as a true icon in the history of 35mm photography and a testament to thoughtful engineering.
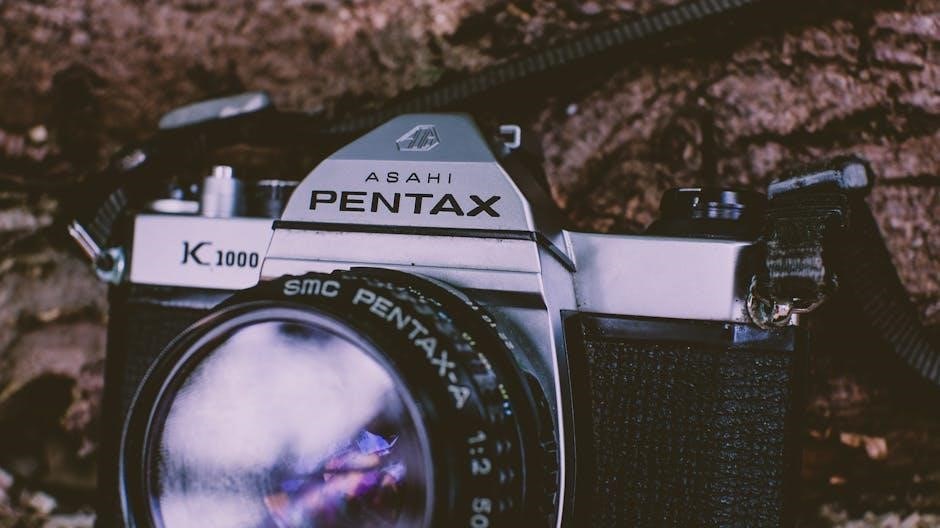
Key Features and Specifications
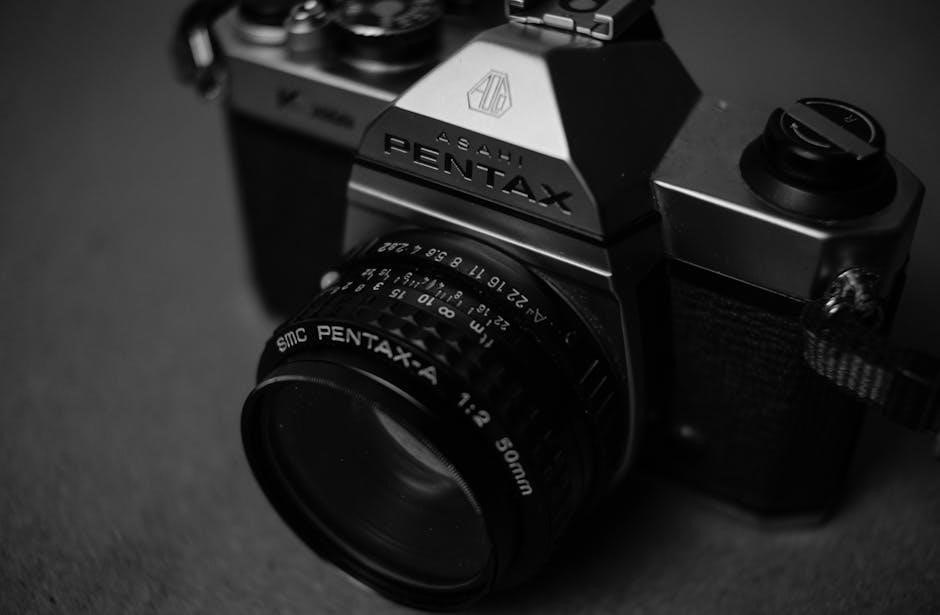
The Pentax K1000 is a 35mm single-lens reflex (SLR) camera renowned for its mechanical operation and durability. It features a Pentax K-mount, enabling compatibility with a vast array of lenses. The camera boasts a horizontal-travel cloth focal-plane shutter, offering speeds from 1 to 1/1000th of a second, plus Bulb mode.
Its built-in light meter utilizes a center-weighted averaging system, assisting in achieving correct exposure. The viewfinder provides approximately 93% coverage. The K1000’s fully mechanical design eliminates battery dependence for core functions, though a battery powers the light meter. The service manual, a 60.9MB file added on September 24, 2020, details these specifications. Its robust build and straightforward controls make it a reliable and accessible tool for both beginners and experienced photographers, cementing its status as a classic.
Understanding the Camera Body
The Pentax K1000’s design prioritizes mechanical functionality. Explore its robust construction and layout, detailed in the service manual, for optimal handling and control.
Front Panel Components
The Pentax K1000’s front panel houses essential elements for operation. Dominating the view is the Pentax K-mount, accepting a wide array of compatible lenses. This bayonet mount ensures secure and precise lens attachment, crucial for image quality. Below the mount resides the self-timer release, initiating a delayed shutter activation – perfect for self-portraits or group shots.
To the right of the lens mount, you’ll find the aperture control lever, directly linked to the lens itself. This lever dictates the lens opening, controlling the amount of light reaching the film. Careful adjustment of the aperture is key to achieving desired depth of field. Further down, the film rewind knob allows for smooth and controlled film rewinding after exposure. The rewind knob also features a crank for efficient operation. Finally, the film door release button grants access to the film chamber for loading and unloading film.
Understanding these components is fundamental to mastering the K1000’s functionality.
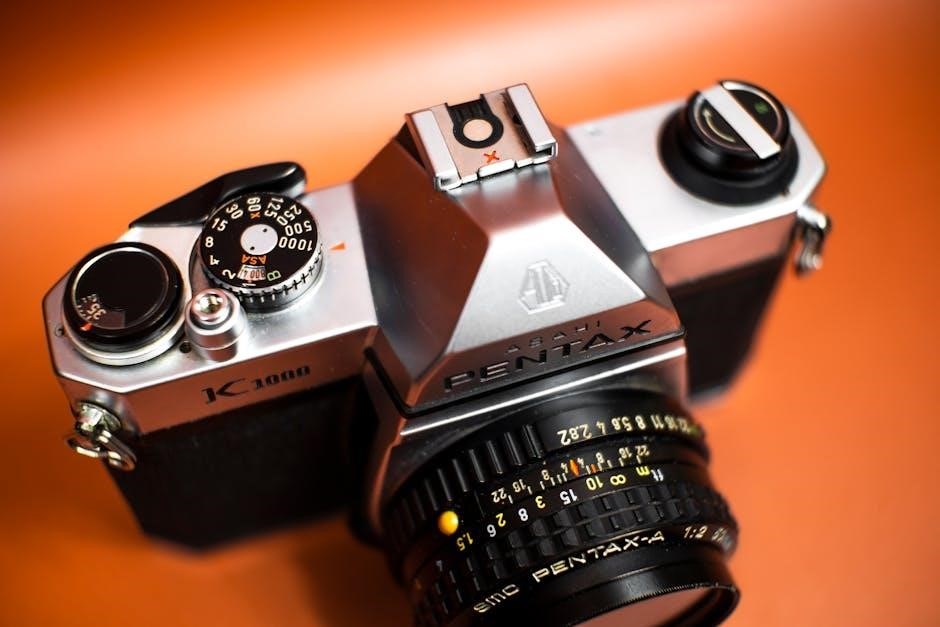
Top Panel Controls and Functions
The Pentax K1000’s top panel concentrates the primary controls for photographic operation. Centrally positioned is the shutter speed dial, offering a range of speeds from 1 second to 1/1000th of a second, plus Bulb (B) for long exposures. This dial governs the duration the shutter remains open, impacting motion blur and light sensitivity. Adjacent to it sits the film advance lever, used to advance the film after each exposure and to cock the shutter.
The film counter displays the number of frames exposed, aiding in tracking film usage. The hot shoe, located atop the prism housing, allows for attachment of external flash units for supplemental lighting. To the right, the exposure compensation dial fine-tunes the light meter’s readings, crucial for challenging lighting scenarios. Finally, the shutter release button initiates the exposure process, requiring a gentle press for optimal results.
Familiarizing yourself with these controls unlocks the K1000’s full potential.
Back Panel Layout and Description
The Pentax K1000’s back panel is primarily dedicated to film handling and the viewfinder. Dominating the view is the large, bright pentaprism viewfinder window, providing a clear and accurate view of the scene. To the left of the viewfinder is the film rewind crank, used to rewind the exposed film back into its cassette after shooting. A film rewind release button must be pressed before rewinding.
Below the viewfinder, you’ll find the film door latch, which, when released, grants access to the film chamber for loading and unloading film. The back panel also features a small window to visually check if the film is advancing correctly. The entire back panel is designed for simplicity and ease of use, prioritizing quick film changes and a comfortable viewing experience.
Understanding these elements ensures smooth film handling.
Loading and Unloading Film
This section details film compatibility and procedures for the Pentax K1000. Proper loading, utilizing the film door latch, and rewinding are crucial for successful photography.
Film Type Compatibility
The Pentax K1000 is renowned for its versatility and compatibility with a wide range of film types, making it a fantastic choice for both beginners and experienced photographers exploring different photographic styles. Primarily designed for standard 35mm film, the K1000 readily accepts black and white negative film, color negative film, and color slide (transparency) film.
ISO (or ASA) ratings, indicating film sensitivity to light, are crucial. The K1000’s built-in light meter functions effectively with films ranging from ISO 25 to ISO 3200, though optimal results are generally achieved within the ISO 100-400 range. Lower ISO films (like 25 or 50) are ideal for bright, sunny conditions, producing fine-grained images. Higher ISO films (like 800 or 1600) excel in low-light situations, albeit with increased grain.
While the K1000 doesn’t natively support APS film, adapters are available for those wishing to experiment. It’s important to note that using unconventional film types or pushing/pulling film (intentionally over or underexposing) requires a thorough understanding of exposure compensation and film development.
Proper Film Loading Procedure
Loading film into the Pentax K1000 requires careful attention to detail to ensure proper operation and prevent damage. First, open the camera back by lifting the rewind knob. Insert the film canister into the left side of the camera chamber, ensuring it seats firmly. Pull the film leader across the camera body and attach it to the take-up spool on the right side.
Advance the film advance lever a couple of times, observing that the film is catching on the take-up spool. Close the camera back securely. Continue advancing the film and watching the rewind knob rotate; this confirms the film is advancing correctly.
Advance beyond the exposed leader frames (usually 2-3) to reach unexposed film. Set the film speed (ISO) on the camera’s dial to match your film’s rating. Incorrect loading can lead to blank frames or film jams, so double-check each step before shooting!
Rewinding the Film
After finishing your roll of film, carefully rewind it back into the canister to protect your images from light exposure. Locate the rewind knob on the top left of the camera. Before rewinding, press the film release button on the bottom of the camera; this disengages the film from the take-up spool.
Turn the rewind knob in the direction indicated by the arrow. You’ll initially feel some resistance as the film begins to retract. As the film winds, the resistance will lessen. Continue rewinding until you feel the film leader completely release from the take-up spool – a noticeable change in tension.
Once fully rewound, open the camera back and remove the film canister. Proper rewinding prevents light leaks and ensures your photographs are safely preserved. Avoid forcing the rewind knob, as this could damage the mechanism.

Exposure Control and Metering
Mastering exposure involves aperture priority, shutter speed settings, and utilizing the built-in light meter for accurate readings. Achieve well-exposed photographs consistently.
Aperture Priority Mode Explained
The Pentax K1000, while a fully manual camera, allows for a simplified approach to exposure through understanding aperture priority. Though not a direct setting on the camera itself, the concept is crucial for effective use. Aperture priority involves you selecting the desired aperture (f-stop) on the lens – controlling depth of field – and then the camera’s built-in light meter assists in determining the appropriate shutter speed for correct exposure.
A wider aperture (smaller f-number like f/2.8) creates a shallow depth of field, ideal for isolating subjects, while a narrower aperture (larger f-number like f/16) yields greater depth of field, keeping more of the scene in focus. After setting your aperture, use the light meter within the viewfinder. Adjust the shutter speed dial until the meter indicates proper exposure – typically a centered needle. This method prioritizes your creative control over depth of field, letting the camera guide you towards a technically sound shutter speed.
Remember, this isn’t an automatic mode; it’s a guided approach leveraging the K1000’s metering system to simplify the exposure process. Practice is key to mastering this technique and achieving consistently well-exposed images.
Shutter Speed Settings
The Pentax K1000’s shutter speed dial is a fundamental control for determining exposure and capturing motion. Located on the top panel, it offers a range typically from 1 second to 1/1000th of a second, plus a Bulb (B) setting for long exposures. Understanding these settings is vital for creative control.
Slower shutter speeds (e.g., 1/30th, 1/15th second) allow more light to reach the film, useful in low-light situations, but can introduce motion blur if the subject or camera moves. Faster shutter speeds (e.g., 1/250th, 1/500th second) freeze motion, ideal for sports or fast-moving subjects, but require more light.
The ‘B’ setting keeps the shutter open as long as the shutter release button is pressed, perfect for astrophotography or light painting. When using slower speeds, a tripod is highly recommended to prevent camera shake. Experimenting with different shutter speeds allows you to creatively control the depiction of motion within your photographs, alongside aperture settings for balanced exposure.
Using the Built-in Light Meter
The Pentax K1000 features a center-weighted light meter, assisting in achieving proper exposure. Activation occurs when you half-press the shutter release button. Observe the needle within the viewfinder; it indicates whether the scene is underexposed (needle to the left), overexposed (needle to the right), or correctly exposed (needle centered at ‘0’).
Adjust either the aperture or shutter speed until the needle aligns with ‘0’ for a balanced exposure. Remember the meter responds to the light reflected from the scene, so strongly lit or dark subjects can influence readings.
Understanding that the meter is center-weighted means it prioritizes the light in the center of the frame. For complex lighting situations, consider using the Sunny 16 rule as a backup or employing external metering techniques. Regularly check battery condition, as a weak battery impacts meter accuracy.
Focusing and Viewfinder
The K1000’s viewfinder provides focusing screen details and depth of field indicators. Utilize these tools for sharp images, mastering effective viewing techniques for optimal results.
Focusing Screen Details
The Pentax K1000’s focusing screen is a crucial element for achieving sharp and accurately focused photographs. It’s not a complex system, intentionally designed for simplicity and direct visual feedback. The standard screen features a central split-image rangefinder, surrounded by a microprism collar. This split-image area is the primary tool for critical focusing.
When the subject is out of focus, the split image will appear as two separate, disjointed halves. As you rotate the focusing ring on the lens, these two halves will gradually align, merging into a single, clear image when perfect focus is achieved. The microprism collar surrounding the split-image assists in fine-tuning focus, particularly for subjects that don’t offer strong contrast.
The area outside the microprism collar is a mostly matte field, providing a general view of the scene. While not as precise as the split-image or microprism, it’s useful for composing your shot and checking overall brightness. Understanding how to interpret the information presented on the focusing screen is fundamental to consistently capturing sharp images with your K1000.
Depth of Field Indicators
The Pentax K1000 incorporates depth of field (DoF) indicators to visually represent the range of acceptable sharpness in your photograph, based on your chosen aperture. Located on either side of the focusing ring on compatible lenses, these indicators are marked with f-numbers corresponding to the lens’s aperture settings.
As you adjust the aperture, the DoF scale shifts, showing the portion of the scene that will appear acceptably sharp. A smaller aperture (higher f-number, like f/16) results in a larger depth of field, meaning more of the scene will be in focus. Conversely, a larger aperture (lower f-number, like f/2.8) creates a shallow depth of field, isolating your subject.
To use them, focus on your desired subject, then observe the DoF scale. The area between the two f-number markings corresponding to your chosen aperture represents the depth of field. Mastering these indicators allows for intentional control over sharpness and creative image expression with your K1000.
Using the Viewfinder Effectively
The Pentax K1000’s viewfinder is your window to composing and focusing. It presents a bright, upright, and approximately 93% accurate view of the scene. While not a full 100% view, it’s sufficient for most photographic purposes. Pay attention to the focusing screen details within the viewfinder – the split-image rangefinder and microprism collar are crucial for achieving sharp focus.
The split-image rangefinder, the central portion, divides the image into two parts. When perfectly focused, these parts align. The microprism collar surrounding it aids in fine-tuning. Utilize the depth of field indicators visible around the focusing ring to anticipate sharpness at different apertures;
Keep your eye close to the eyepiece to minimize parallax error, especially at closer focusing distances. Practice composing carefully, considering the frame’s edges, and utilize the viewfinder’s gridlines for straightening horizons and aligning subjects.
Advanced Techniques & Maintenance
Troubleshoot common issues and maintain optimal performance with regular care. Ensure lens compatibility for varied usage, extending the life of your Pentax K1000.
Troubleshooting Common Issues
Encountering problems with your Pentax K1000 is common, but often easily resolved. A frequent issue is film not advancing; check the film leader is correctly engaged with the take-up spool. If the shutter doesn’t fire, ensure the battery (if applicable for the light meter) is fresh and properly installed.
Blurry images often stem from improper focusing. Revisit the focusing screen details and practice using the depth of field indicators. Light leaks can occur with older cameras; inspect the light seals around the film door and back cover. If the light meter appears inaccurate, consider it may need calibration or rely on external metering.
Sticky shutter curtains can be gently cleaned, but avoid harsh chemicals. Always consult a qualified technician for complex repairs. Remember, preventative maintenance, like regular cleaning, minimizes potential issues and extends the lifespan of your classic Pentax K1000. A service manual can provide detailed diagrams for self-diagnosis.
Basic Camera Maintenance
Maintaining your Pentax K1000 ensures its longevity and optimal performance. Regularly clean the camera body with a soft, dry cloth to remove dust and fingerprints. Avoid using solvents or abrasive cleaners. Gently blow out any dust particles from the film chamber and viewfinder eyepiece. Inspect the lens for smudges and use a lens cleaning cloth and solution specifically designed for camera lenses.
Periodically check the battery compartment for corrosion, especially if the camera hasn’t been used for an extended period. Store the K1000 in a dry, cool place, away from direct sunlight and extreme temperatures. When not in use, leave the shutter cocked to relieve pressure on the shutter curtain.
Avoid forcing any controls. A service manual can guide more in-depth cleaning procedures, but for routine care, gentle handling and regular dusting are key to preserving this classic camera.
Lens Compatibility and Usage
The Pentax K1000 utilizes the Pentax K-mount, offering compatibility with a vast array of lenses. Originally designed for manual focus lenses, it readily accepts both Pentax and third-party K-mount optics. While modern autofocus lenses can be physically mounted, they won’t function electronically and must be used in manual mode.
When attaching a lens, align the red and green dots on the lens and camera body, then gently twist clockwise until it clicks into place. To remove, press the lens release button and rotate counterclockwise. Ensure the lens is securely mounted before use.
Experiment with different focal lengths to explore various photographic styles. Remember that aperture and shutter speed control exposure, as the K1000 is a fully manual camera. Proper lens care, including cleaning, is crucial for optimal image quality.