Canon 5D Mark III Manual: A Comprehensive Guide
This detailed guide provides comprehensive instructions for the Canon EOS 5D Mark III, covering everything from initial setup to advanced photographic techniques.
Explore detailed explanations, troubleshooting tips, and specifications for optimal camera performance, ensuring you unlock its full potential.
Download the free PDF manual or browse online resources for a complete understanding of this professional-grade DSLR camera.
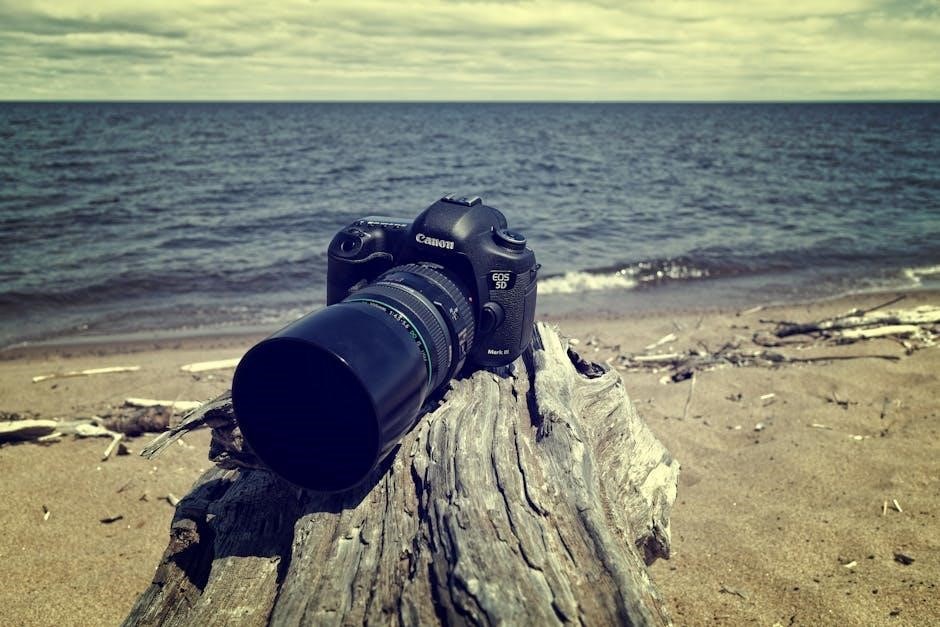
The Canon EOS 5D Mark III represents a significant leap forward in full-frame DSLR technology, favored by professionals and serious enthusiasts alike. Released as a successor to the highly acclaimed 5D Mark II, this camera builds upon its predecessor’s strengths while introducing substantial improvements in image quality, autofocus performance, and overall robustness.
At its core, the 5D Mark III boasts a 22.3-megapixel full-frame CMOS sensor, delivering exceptional detail and dynamic range. This sensor, coupled with the powerful DIGIC 5+ Image Processor, enables stunning image clarity even in challenging lighting conditions. The camera’s robust build quality, featuring weather sealing, ensures reliable operation in diverse environments.
This manual serves as your comprehensive companion to mastering the Canon 5D Mark III. Whether you are a seasoned photographer or new to the world of DSLRs, this guide will equip you with the knowledge to unlock the camera’s full potential and capture breathtaking images. We will explore every facet of the camera, from basic operation to advanced settings, empowering you to achieve your creative vision.
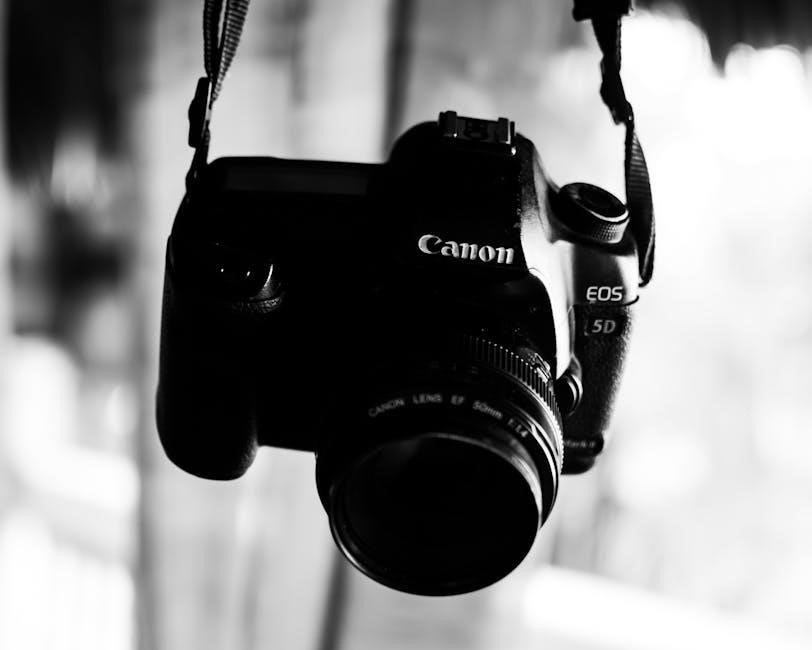
Understanding the Camera Body and Controls

The Canon 5D Mark III’s body is designed for comfortable and intuitive operation, even during extended shooting sessions. Key controls are strategically placed for quick access, allowing for seamless adjustments without interrupting your focus. The rear panel houses the 3.2-inch Clear View LCD screen, providing a bright and detailed view for composing shots and reviewing images.
Essential controls include the main dial for selecting shooting modes (Av, Tv, M, etc.), the Quick Control dial for adjusting settings, and the multi-controller for navigating menus and selecting focus points. The top panel features the power switch, shutter button, and various customizable buttons for frequently used functions.
Familiarizing yourself with the location and function of each control is crucial for efficient operation. This section will provide a detailed overview of the camera’s physical layout, explaining the purpose of each button, dial, and port. Understanding these elements will empower you to confidently navigate the camera’s interface and tailor it to your shooting style.
Menu System Navigation
The Canon 5D Mark III’s menu system is logically organized into several tabs, each dedicated to a specific category of settings. These tabs include Shooting, AF, Exposure, Picture Quality, Autofocus/MF, Custom Functions, and Setup. Navigating the menus is accomplished using the multi-controller on the rear of the camera, combined with the Quick Control dial for selection and adjustment.
Each menu option is clearly labeled and accompanied by a brief explanation of its function. The menu structure allows for efficient access to a wide range of customizable settings, enabling you to fine-tune the camera’s behavior to your preferences. Understanding the hierarchical structure of the menus is key to quickly locating and modifying specific settings.
Customizing the menu display is also possible, allowing you to prioritize frequently used options for faster access. This section will guide you through the menu system, explaining the function of each option and providing tips for efficient navigation.
Setting Up the Camera: Initial Configuration
Upon first powering on the Canon 5D Mark III, several initial configuration steps are necessary. First, set the date, time, and shooting location. Next, choose your preferred menu language and area settings. It’s crucial to format the memory card before use, ensuring compatibility and preventing potential data issues.
Configure the button customization options to personalize the camera’s controls to your shooting style. Assign frequently used functions to easily accessible buttons for quicker operation. Setting the image quality and file type (RAW or JPEG) is also essential, depending on your post-processing workflow.
Finally, calibrate the camera’s auto-focus system for optimal performance with your lenses. These initial settings establish a solid foundation for a customized and efficient shooting experience.
Focusing Modes and Techniques
The Canon 5D Mark III offers a versatile range of focusing modes to suit various shooting scenarios. One-Shot AF is ideal for static subjects, locking focus when the shutter button is half-pressed. AI Servo AF continuously tracks moving subjects, maintaining focus as they change position. AI Focus AF intelligently switches between One-Shot and AI Servo, adapting to subject movement.
Focusing point selection is critical; choose a single point for precision or utilize zone AF for tracking subjects within a defined area. Back-button focus separates focusing from the shutter release, providing greater control. Mastering these techniques ensures sharp, well-focused images, regardless of the subject’s motion or complexity.
Autofocus Settings Explained
The 5D Mark III’s autofocus system is highly customizable. AF Configuration Tool allows fine-tuning of tracking sensitivity and acceleration/deceleration settings, adapting to different shooting styles. Case settings (Case 1-6) pre-configure these parameters for specific subjects – portraits, sports, erratic movement, etc.
Focusing area selection includes single-point, zone, and automatic selection modes. AF microadjustment compensates for lens imperfections, ensuring optimal sharpness. Understanding these settings is crucial for achieving consistently accurate focus. Experimenting with different configurations will help you tailor the autofocus system to your specific needs and photographic subjects, maximizing image quality.
Manual Focus Precision
Achieving critical focus manually on the 5D Mark III relies on utilizing its features. Magnified Live View allows precise confirmation of sharpness, zooming in on the image to inspect details. Focus peaking highlights in-focus areas with a color overlay, aiding visual assessment.
The focus screen can be customized with different types for enhanced visibility. Fine-tuning the focus ring requires practice and a steady hand. Manual focus is invaluable for situations where autofocus struggles – low light, macro photography, or subjects with low contrast. Mastering these techniques ensures consistently sharp images when autofocus isn’t ideal.
Exposure Control: Aperture, Shutter Speed, and ISO
The Canon 5D Mark III offers full control over the exposure triangle: aperture, shutter speed, and ISO. Aperture controls depth of field, influencing how much of the image is in focus. Shutter speed determines motion blur or freezing action. ISO adjusts the camera’s sensitivity to light, impacting image noise.
Understanding the interplay between these settings is crucial for achieving desired results. Lower ISOs produce cleaner images, while higher ISOs allow shooting in darker conditions. Balancing these elements ensures proper exposure and creative control. Explore the camera’s modes – Program, Aperture Priority, Shutter Priority, and Manual – to master exposure.
Aperture Priority (Av) Mode
Aperture Priority (Av) mode on the Canon 5D Mark III allows you to select the desired aperture (f-stop), while the camera automatically determines the appropriate shutter speed for correct exposure. This mode is ideal for controlling depth of field – a shallow depth of field (low f-number) blurs the background, isolating the subject, while a large depth of field (high f-number) keeps everything in focus.
Av mode is particularly useful for portraiture, landscapes, and situations where precise control over depth of field is paramount. Remember to monitor the shutter speed to avoid motion blur, especially in low light. The camera will indicate if the shutter speed is too slow, potentially requiring an increase in ISO.
Shutter Priority (Tv) Mode
Shutter Priority (Tv) mode on the Canon 5D Mark III grants you control over the shutter speed, with the camera automatically adjusting the aperture to achieve proper exposure. This mode excels at capturing motion – fast shutter speeds freeze action, while slow shutter speeds create motion blur. It’s perfect for sports photography, wildlife, or intentionally blurring moving water.
Tv mode is invaluable when you need to dictate how movement is rendered in your images. Be mindful of the aperture value the camera selects; a very wide aperture might result in a shallow depth of field. Also, monitor the ISO setting, as the camera may increase it in low light to maintain the chosen shutter speed.
Image Quality Settings and File Formats
The Canon 5D Mark III offers a range of image quality settings and file formats, impacting both image detail and file size. You can choose between RAW and JPEG, or a combination of both. RAW files retain all image data captured by the sensor, providing maximum flexibility for post-processing and editing, but require more storage space.
JPEG files are compressed, resulting in smaller file sizes, but some image data is lost. Within JPEG, you can select quality levels – higher quality means larger files and more detail. Consider your workflow and storage capacity when choosing a format. For professional work, RAW is generally preferred, while JPEG is suitable for quick sharing or when editing isn’t crucial.
RAW vs. JPEG: A Detailed Comparison
Choosing between RAW and JPEG significantly impacts your post-processing capabilities. RAW files, essentially unprocessed sensor data, offer unparalleled editing flexibility – adjusting white balance, exposure, and recovering details is far more effective. However, RAW files are substantially larger, demanding more storage and processing power.
JPEG files, conversely, are compressed and processed in-camera, resulting in smaller file sizes ideal for quick sharing and limited editing. This compression discards some image information, limiting recovery options. While convenient, JPEGs offer less latitude for correcting errors or achieving specific looks. For critical work, RAW is the superior choice, while JPEG suits casual shooting or situations where immediate usability is paramount.

White Balance Adjustment
Accurate white balance is crucial for realistic color rendition. The Canon 5D Mark III offers several white balance presets – Auto (AWB), Daylight, Cloudy, Shade, Tungsten, Fluorescent, Flash, and Custom. AWB often performs well, but can be inconsistent. Preset modes are effective under specific lighting conditions.
For precise control, utilize the Custom white balance function. This involves photographing a white or gray card under the prevailing light and setting that as your reference. Kelvin temperature adjustment provides further refinement, allowing you to dial in the exact color temperature. Experimentation is key to mastering white balance and achieving desired color tones, ensuring your images accurately reflect the scene.
Metering Modes and Exposure Compensation
The Canon 5D Mark III features several metering modes: Evaluative, Partial, Spot, and Center-weighted average. Evaluative metering analyzes the entire scene, ideal for general use. Partial metering assesses approximately 6.5% of the frame, useful for backlit subjects. Spot metering focuses on a very small area (2.8%), perfect for precise exposure on a specific point. Center-weighted average prioritizes the center of the frame.
Exposure compensation (+/- 5 stops) allows you to fine-tune the exposure suggested by the metering mode. Use it when the camera’s meter is fooled by bright or dark scenes. Histograms are invaluable for verifying correct exposure, preventing over or underexposure. Understanding these tools ensures well-exposed images.
Evaluating Metering Modes for Different Scenes
For landscapes, Evaluative metering generally performs well, capturing detail across the scene. However, consider using Partial or Spot metering when a bright sky dominates, preventing underexposure of the foreground. Portrait photography benefits from Evaluative or Center-weighted average, ensuring proper skin tone exposure.
Backlit subjects require Partial or Spot metering on the subject’s face, overriding the camera’s tendency to underexpose; High-contrast scenes may necessitate Spot metering to accurately expose a specific area. Experimentation is key; review your histogram and adjust exposure compensation accordingly. Mastering these techniques yields consistently well-exposed photographs.
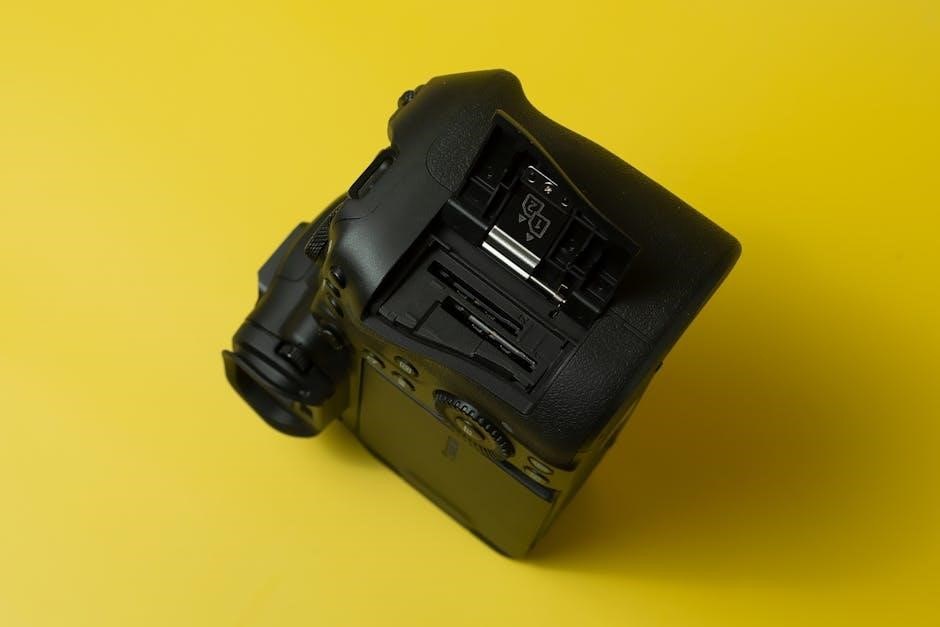
Battery Management and Power Options
The Canon 5D Mark III utilizes a Lithium-Ion battery, offering substantial power for extended shooting sessions. Optimize battery life by disabling Live View when not essential and utilizing the optical viewfinder. Employ the Auto Power Off function to conserve energy during inactivity. Avoid extreme temperatures, as they can diminish battery performance.
Consider investing in a spare battery for prolonged shoots, especially in cold weather. The battery specification (US18650V3) details its capacity and safety standards (UL1642). Regularly check the battery indicator and charge fully before important events. Proper care extends battery lifespan and ensures reliable camera operation.
Lithium-Ion Battery Specifications and Care
The Canon 5D Mark III employs a Sony-manufactured Lithium-Ion Rechargeable Battery, model US18650V3. This battery adheres to UL1642 safety standards (File No. MH12566), ensuring safe operation. Typical capacity reaches 0.21tA when discharged to a 2.5V cut-off voltage under standard testing conditions. Standard charging protocols are recommended for optimal performance and longevity.
To maximize battery life, avoid complete discharges and store in a cool, dry place. Do not expose the battery to extreme temperatures or physical damage. Use only the Canon-approved charger to prevent overcharging or potential hazards. Regularly inspect for any signs of swelling or leakage, and discontinue use if observed.

Troubleshooting Common Issues
Encountering problems with your Canon 5D Mark III? Common issues include error messages, autofocus malfunctions, and image quality concerns. First, consult the camera’s information display for specific error codes and their corresponding solutions. If autofocus is failing, verify lens compatibility, clean the contacts, and check autofocus settings.
For image quality problems, ensure correct white balance, metering mode, and file format selection. If the camera freezes, attempt a reset by removing and reinserting the battery. Refer to the full manual for detailed troubleshooting steps and contact Canon support if issues persist. Regular firmware updates can also resolve known bugs.
Addressing Error Messages
The Canon 5D Mark III displays various error messages indicating specific camera issues. Understanding these codes is crucial for effective troubleshooting. Error 90 often signals a shutter malfunction, requiring professional repair. Err 50 indicates a card error – check the card’s compatibility and formatting. Error 80 suggests a mirror lock-up issue, potentially needing service.
Consult the camera’s manual for a complete list of error codes and their meanings. Attempting simple fixes like battery removal or card reformatting can sometimes resolve minor errors. However, persistent or unfamiliar error messages warrant contacting Canon support or a qualified repair technician to prevent further damage.
Basic Maintenance and Cleaning
Regular maintenance ensures the longevity and optimal performance of your Canon 5D Mark III. Always power off the camera before cleaning. Use a blower to remove dust from the sensor and viewfinder – avoid canned air. Gently wipe the exterior with a soft, dry cloth. For stubborn smudges, slightly dampen the cloth with lens cleaning fluid.
Never use solvents or abrasive cleaners. Periodically check and clean the contacts on the battery and memory cards. Store the camera in a dry, dust-free environment. Avoid extreme temperatures and humidity. Professional sensor cleaning is recommended every few years for best results.