Welcome to the comprehensive guide on Briggs & Stratton small engine repair manuals. These manuals are essential for troubleshooting‚ maintenance‚ and repairs‚ ensuring optimal engine performance.
Discover how to locate the correct model-specific manual‚ understand its structure‚ and utilize the PDF format for easy access and navigation.
Whether you’re a DIY enthusiast or a professional‚ this guide will walk you through the process of repairing and maintaining your Briggs & Stratton engine effectively.
1.1 Overview of Briggs & Stratton Engines
Briggs & Stratton engines are renowned for their reliability and performance in powering small equipment like lawn mowers‚ generators‚ and pressure washers. With a wide range of models‚ from 2 to 25 horsepower‚ these engines are designed for durability and efficiency. Key features include overhead valves‚ Intek technology‚ and oil guards for extended engine life. Proper maintenance‚ as outlined in their repair manuals‚ ensures optimal performance and longevity. Understanding your engine’s specifications and model number is crucial for accurate repairs and servicing.
1.2 Importance of Using a Repair Manual
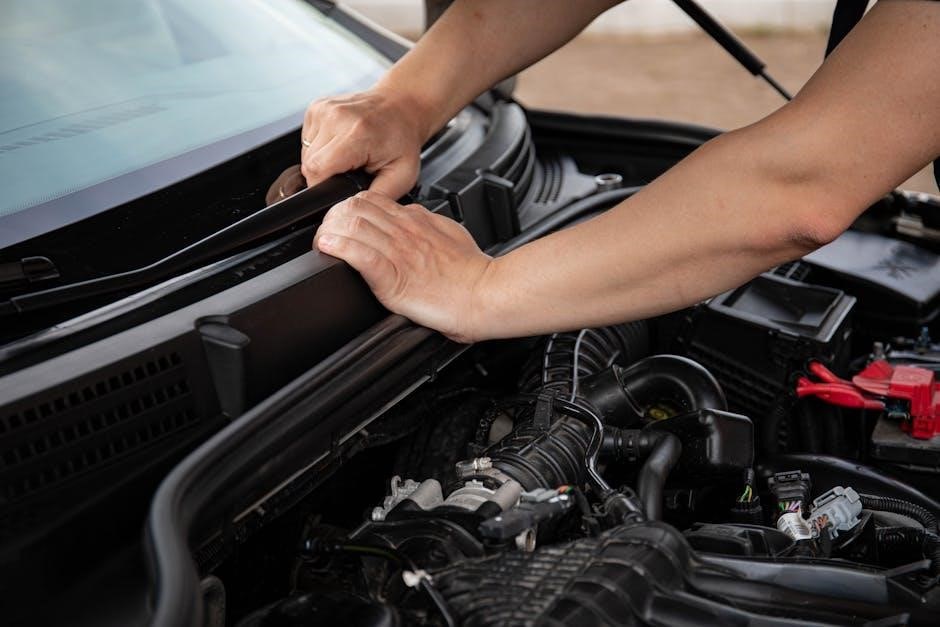
A repair manual is essential for maintaining‚ troubleshooting‚ and repairing Briggs & Stratton engines. It provides detailed‚ model-specific instructions‚ ensuring accurate fixes and safety. With step-by-step guidance‚ diagrams‚ and technical specifications‚ manuals empower users to address issues confidently. They save time by reducing trial-and-error and prevent costly mistakes. By following the manual‚ you maintain engine performance‚ prolong its lifespan‚ and ensure compliance with manufacturer guidelines. Whether you’re a novice or experienced‚ a repair manual is indispensable for effective and safe engine servicing.
1.3 Benefits of the PDF Format
The PDF format offers universal compatibility‚ allowing access on any device without losing formatting. It enables easy searching‚ zooming‚ and bookmarking‚ making navigation effortless. PDFs are portable and can be stored on smartphones‚ tablets‚ or computers for quick reference. The format preserves high-quality diagrams and illustrations‚ ensuring clarity. Additionally‚ PDFs can be converted to other formats like Word or ePub for flexibility. This versatility makes the PDF format ideal for DIY enthusiasts and professionals alike‚ providing a convenient and reliable resource for Briggs & Stratton engine repairs.
Finding and Downloading the Briggs & Stratton Repair Manual
Locate your engine’s model number and visit the official Briggs & Stratton website to search for the specific repair manual. Enter the model number to download the PDF.
2.1 How to Locate the Correct Model Number
The model number for your Briggs & Stratton engine is typically found on a label or plate attached to the engine. It is often located near the spark plug or on the blower housing. For most 2-5 hp engines‚ the production number is stamped above the spark plug. Clean the area to ensure the number is visible. The model number is usually a combination of letters and numbers‚ such as 12A345B. Use a flashlight if needed for clarity. Once located‚ cross-reference it with the Briggs & Stratton website to confirm accuracy.
2.2 Using the Briggs & Stratton Website for Manuals
Visit the official Briggs & Stratton website and navigate to the “Support” or “Manuals” section. Enter your engine’s model number in the search bar to find the corresponding repair manual. The website provides a user-friendly interface where you can download PDF versions of the manual free of charge. Ensure your internet connection is stable for a smooth download. Once downloaded‚ save the PDF for easy access and reference. The manual is organized by sections‚ making it easy to locate specific repair procedures and guidelines.
2.3 Converting the PDF to Other Formats
To convert a Briggs & Stratton repair manual PDF to another format‚ use online conversion tools like Smallpdf or Adobe Acrobat. These tools allow you to transform the PDF into formats such as Word‚ Excel‚ or JPG. Simply upload the PDF‚ select the desired format‚ and download the converted file. This is useful for editing or sharing the manual in different contexts. Ensure the converted file retains the original content’s clarity and layout for easy reference and usability.
Understanding the Structure of the Repair Manual
The Briggs & Stratton repair manual features a comprehensive layout‚ including a detailed table of contents‚ index‚ and clear diagrams. It provides technical specifications‚ terminology‚ and step-by-step instructions‚ ensuring easy navigation and understanding of complex procedures.
3.1 Table of Contents and Index
The table of contents and index in the Briggs & Stratton repair manual provide quick access to specific sections‚ such as maintenance schedules‚ troubleshooting guides‚ and repair procedures. These features allow users to efficiently locate information‚ saving time and effort. The index is alphabetically organized‚ making it easy to find terms related to engine components and repair processes. Together‚ they ensure a seamless navigation experience‚ helping users address their engine-related needs effectively and efficiently.
3.2 Diagrams and Illustrations
The Briggs & Stratton repair manual includes detailed diagrams and illustrations to help visualize complex repair procedures. These visuals guide users through engine teardown‚ carburetor servicing‚ and valve inspections. Clear exploded views of components simplify assembly and disassembly processes. Illustrations also highlight key areas for maintenance‚ such as oil change locations and air filter access points. These diagrams are invaluable for understanding spatial relationships and ensuring accurate repairs. The PDF format allows for zooming in on details‚ making it easier to follow step-by-step instructions for even the most intricate tasks.
3.3 Technical Specifications and Terminology
Briggs & Stratton repair manuals provide detailed technical specifications‚ including torque values‚ part numbers‚ and tolerances‚ essential for precise repairs. Terminology like “Intek” or “V-Twin” is clearly defined‚ helping users understand engine-specific jargon. The manual also outlines critical measurements and standards‚ ensuring accuracy in maintenance and repairs. These specifications are often cross-referenced with diagrams‚ making it easier to apply the information correctly. Understanding this terminology is crucial for diagnosing issues and performing repairs effectively‚ as outlined in the manual.
Routine Maintenance and Servicing
Routine maintenance is crucial for extending the life of your Briggs & Stratton engine. Regular oil changes‚ filter servicing‚ and spark plug inspections ensure optimal performance and reliability.
4.1 Scheduled Maintenance Intervals
Regular maintenance is vital to ensure your Briggs & Stratton engine runs efficiently. Follow the recommended schedule: oil changes every 5-10 hours of operation‚ air filter cleaning every 10-15 hours‚ and spark plug replacement annually. Refer to your manual for model-specific intervals. Proper timing prevents wear and tear‚ ensuring reliability and performance. Always use the correct materials and tools to maintain warranty compliance and engine longevity.
4.2 Oil and Filter Changes
Oil and filter changes are crucial for maintaining your Briggs & Stratton engine’s health. Use the recommended oil viscosity‚ typically 10W-30 or 20W-50‚ depending on climate. Replace the oil filter every 5 hours of operation or as specified in your manual. Clean or replace the air filter as needed to ensure proper airflow. Regular oil changes prevent engine wear‚ while a fresh filter ensures clean oil circulation. Always dispose of used oil and filters responsibly to protect the environment.
4.3 Air Filter and Spark Plug Servicing
Regular servicing of the air filter and spark plug is essential for maintaining your Briggs & Stratton engine’s performance. Clean or replace the air filter as directed in your manual to ensure proper airflow. For foam filters‚ wash with soap and water‚ dry thoroughly‚ and treat with oil before reinstalling. Paper filters should be replaced‚ not cleaned. For spark plugs‚ remove‚ clean‚ and gap them to the specified setting using a spark plug gapper. Always use a spark tester to ensure proper ignition. A well-maintained air filter and spark plug ensure efficient combustion and reliable engine operation.
Troubleshooting Common Issues
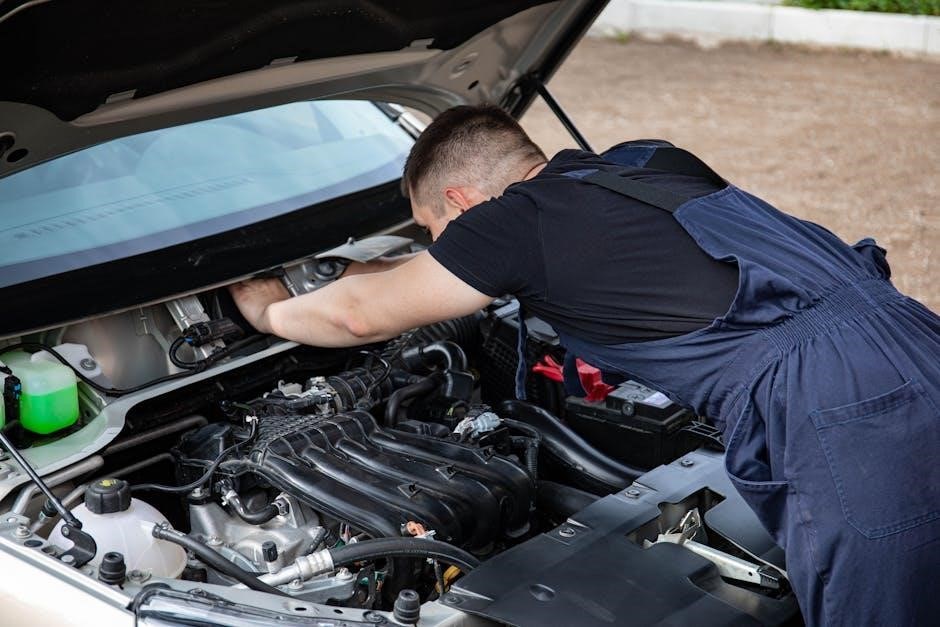
Identify symptoms like hard starting‚ rough running‚ or no-start conditions. Use diagnostic steps in the manual to pinpoint issues‚ such as checking compression or spark. Tools like a compression tester or spark plug gap gauge are essential. Always refer to the repair manual for specific troubleshooting guides tailored to your engine model. This ensures accurate and effective problem-solving.
5.1 Identifying Symptoms of Engine Problems
Common symptoms of engine issues include hard starting‚ rough running‚ or a complete no-start condition. Look for signs like low power output‚ excessive vibration‚ or unusual noises. Overheating‚ oil leaks‚ or a reduction in performance can also indicate problems. Pay attention to changes in sound‚ such as knocking or sputtering‚ which may signal internal damage. Refer to the repair manual for a detailed list of symptoms and corresponding potential causes. Early identification is key to preventing further damage and ensuring effective repairs.
5.2 Diagnostic Steps for Common Faults
Start by checking the spark plug for wear or fouling‚ as this is a common issue. Inspect the air filter and fuel system for blockages or contamination. Test the ignition coil for proper spark output and ensure the carburetor is clean and functioning correctly. For no-start conditions‚ verify fuel flow and compression levels. Use the manual’s troubleshooting chart to isolate faults‚ such as rough running or overheating. Always refer to the diagnostic guide in your Briggs & Stratton manual for precise steps tailored to your engine model.
5.3 Tools and Equipment Needed for Troubleshooting
Essential tools for diagnosing Briggs & Stratton engine issues include a spark tester‚ compression gauge‚ and multimeter. A screwdriver set‚ pliers‚ and wrenches are also vital. Use a carburetor cleaning kit for fuel system issues and a vacuum gauge to check intake manifold leaks. A tachometer helps verify engine RPM‚ while a fuel pressure test kit ensures proper fuel delivery. Always refer to the manual for specific tools recommended for your engine model to ensure accurate and safe troubleshooting.

Common Repairs and Replacement Parts
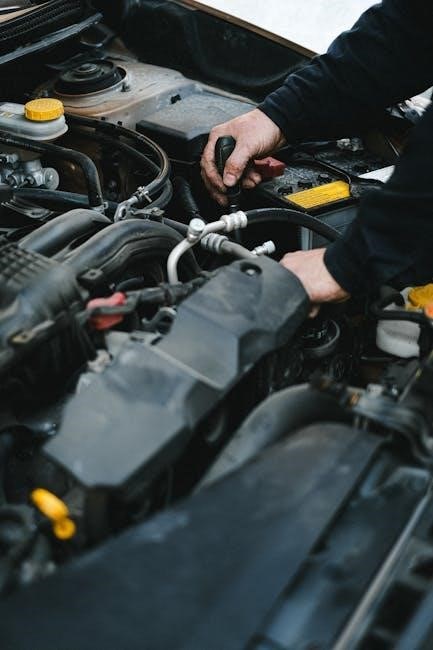
Common repairs include replacing spark plugs‚ air filters‚ and belts. Regularly inspecting and replacing worn parts ensures optimal engine performance and longevity.
Recoil starters‚ carburetors‚ and sump gaskets are frequently serviced or replaced. Always use genuine Briggs & Stratton parts for reliability and compatibility.
6.1 Replacing the Recoil Starter
Replacing the recoil starter on your Briggs & Stratton engine is a straightforward process. Start by disconnecting the spark plug wire for safety. Remove the old starter by taking out the screws holding it in place. Inspect the pawls and spring for damage or wear. Install the new recoil starter by aligning it properly and securing it with screws. Reconnect the spark plug wire and test the starter to ensure it engages smoothly. This repair ensures reliable engine starting and prevents further damage to the system.
6.2 Servicing the Carburetor
Servicing the carburetor is crucial for maintaining proper engine performance. Start by removing the carburetor and disassembling it to access the internal components. Clean or replace the fuel jets‚ float bowl‚ and needle valve to ensure proper fuel flow. Inspect the gaskets and seals for wear‚ replacing them if necessary. Reassemble the carburetor and adjust the air-fuel mixture screw for optimal performance. Proper servicing prevents issues like poor engine starting‚ rough running‚ and reduced power output‚ ensuring your engine operates efficiently and reliably. Regular maintenance also extends the carburetor’s lifespan.
6;3 Replacing the Sump Gasket
Replacing the sump gasket on a Briggs & Stratton small engine involves several key steps. Begin by draining the engine oil to prevent any spillage during the process. Next‚ remove the sump plate or oil pan to access the gasket. This may require detaching the engine from the equipment it powers. Once the sump plate is removed‚ carefully pry off the old gasket and clean the area thoroughly to ensure a proper seal for the new gasket. Apply the new gasket‚ ensuring it is securely in place without any adhesive unless specified. Reattach the sump plate and tighten all bolts according to the torque specifications provided in the repair manual. Finally‚ refill the engine oil and check for any leaks around the sump gasket to confirm everything is sealed properly. Regular inspection and maintenance of the sump gasket can help prevent oil leaks and maintain engine performance.

Advanced Repair Techniques
Advanced techniques include engine teardown‚ valve and tappet inspection‚ and piston repair. These procedures require specialized tools and precision to ensure proper engine function and longevity.
7.1 Engine Teardown and Reassembly
Engine teardown and reassembly are critical advanced repair steps. Start by disconnecting all external components like the carburetor and ignition system; Remove the cylinder head to access internal parts. Carefully document each step for reassembly. Use torque specifications to ensure proper reinstallation of bolts and components. Clean each part thoroughly before reassembling to prevent dirt-induced damage. Reassembly should follow the reverse order of teardown‚ ensuring all gaskets and seals are correctly positioned. Always refer to the repair manual for specific instructions to avoid costly mistakes. Proper reassembly ensures the engine runs smoothly and efficiently. This process requires patience and attention to detail. Never skip steps‚ as it can lead to engine failure. Keep all small parts organized to avoid misplacement.
7.2 Valve and Tappet Inspection
Valve and tappet inspection is a vital step in advanced engine repair. Begin by removing the cylinder head to access the valves and tappets. Inspect the valve faces for wear or damage‚ and check the tappet clearance using a feeler gauge. Measure the tappet depth and compare it to the specifications in your repair manual. Adjust or replace components as needed to ensure proper engine performance. Always adhere to the manual’s guidelines to avoid over-tightening or misalignment‚ which can lead to engine damage. Regular inspection prevents costly repairs and maintains optimal engine function. This process requires precision and adherence to specifications. Proper valve and tappet adjustment ensures smooth operation and longevity of the engine. Always clean components before reassembly to avoid contamination. Refer to the manual for torque specifications and detailed instructions. This step is crucial for maintaining engine efficiency and preventing future issues. Neglecting this inspection can result in poor performance or engine failure. Ensure all adjustments are made carefully to avoid complications. Proper maintenance here ensures the engine runs reliably for years to come.
7.3 Piston and Cylinder Repair
Piston and cylinder repair is a critical task in advanced engine maintenance. Begin by disassembling the engine to access the piston and cylinder. Inspect the piston for scoring or excessive wear and check the cylinder walls for damage or excessive clearance. Clean all components thoroughly and measure the cylinder bore using a dial bore gauge. Compare measurements to the specifications in your repair manual. If the cylinder is damaged‚ consider boring or sleeving it. Replace the piston rings if they show signs of wear. Reassemble the components with new parts as needed‚ ensuring proper alignment and lubrication. Always consult the manual for torque specifications and reassembly procedures. Proper repair ensures restored engine performance and longevity. Regular inspection prevents severe damage and costly overhauls. This process requires precision and careful attention to detail. Follow the manual’s guidelines to avoid common pitfalls and ensure a successful repair. Proper maintenance here is essential for optimal engine operation.
Safety Precautions and Best Practices
Always wear protective gear‚ including gloves and safety glasses‚ when working with small engines. Disconnect the spark plug before starting repairs to prevent accidental starts. Ensure proper ventilation to avoid inhaling harmful fumes. Use the correct tools to prevent injury and damage. Follow the manual’s guidelines for safe handling of hazardous materials. Dispose of waste responsibly to protect the environment. Regularly inspect tools and equipment for damage. Keep loose clothing tied back and avoid jewelry that could catch. Maintain a clean workspace to reduce accidents. Never smoke or use open flames near flammable liquids. Keep children and pets away from the work area. Always refer to the manual for specific safety instructions. Stay alert and avoid working while fatigued. Proper safety practices ensure a successful and injury-free repair experience. Follow all local regulations for waste disposal and emissions. Stay informed about safety updates and best practices for small engine repair. This ensures both personal safety and environmental protection. By adhering to these guidelines‚ you can maintain a safe and efficient workspace. Safety should always be your top priority when working with engines. Take the time to review all safety precautions before starting any repair. A safe environment leads to better outcomes and prevents potential hazards. Always double-check your work for safety compliance. This approach ensures reliability and longevity of your engine. Remember‚ safety is not just a precaution—it’s a necessity. Stay vigilant and proactive in maintaining a safe working environment. This mindset will help you avoid common pitfalls and ensure successful repairs. Prioritizing safety enhances both the quality of your work and your overall well-being. It’s the foundation of any effective repair process. By following these best practices‚ you can confidently tackle engine repairs with minimal risk. Safety measures are in place to protect both you and your equipment. Ignoring them can lead to serious consequences. Always err on the side of caution when working with small engines. This ensures a safe and productive experience. Safety is everyone’s responsibility‚ and adherence to these practices makes all the difference. Stay safe‚ and happy repairing!
8.1 Safety Guidelines for Working with Small Engines
Always wear protective gear‚ including gloves and safety glasses‚ when working with small engines. Disconnect the spark plug before starting repairs to prevent accidental starts. Ensure proper ventilation to avoid inhaling harmful fumes. Use the correct tools to prevent injury and damage. Follow the manual’s guidelines for safe handling of hazardous materials. Dispose of waste responsibly to protect the environment. Regularly inspect tools and equipment for damage. Keep loose clothing tied back and avoid jewelry that could catch. Maintain a clean workspace to reduce accidents.
8.2 Proper Use of Tools and Equipment
Always use the correct tools for the job to avoid damaging your engine or causing injury. Refer to the manual for recommended tools and equipment. Ensure all tools are in good condition and properly calibrated. Use wrenches and screwdrivers that fit snugly to prevent stripping bolts. Follow torque specifications for bolts and fasteners. Keep tools organized and within reach to maintain efficiency. Regularly inspect tools for wear and tear. Use jack stands for stability when working under heavy components. Avoid using improvised tools‚ as they may damage engine parts or compromise safety.
8.3 Disposal of Hazardous Materials
Proper disposal of hazardous materials from your Briggs & Stratton engine is crucial. Always follow local regulations for disposing of used oil‚ filters‚ and batteries. These items can be harmful if not handled correctly. Consider recycling options available in your area‚ as many auto parts stores and service centers accept used oil and filters. Never dispose of these materials in regular trash or drains. Environmental protection is everyone’s responsibility‚ so ensure you dispose of all hazardous waste responsibly.
Briggs & Stratton repair manuals are invaluable for effective engine maintenance. Always reference the manual for model-specific guidance and troubleshooting. Happy repairing!
9.1 Summary of Key Repair Manual Insights
The Briggs & Stratton repair manual offers comprehensive guidance for engine maintenance and troubleshooting. It covers essential steps like identifying model numbers‚ understanding diagrams‚ and performing routine services. The manual emphasizes safety precautions and provides detailed instructions for common repairs‚ such as replacing the recoil starter and servicing the carburetor. By following the manual’s insights‚ users can ensure their engine runs efficiently and prolong its lifespan. Regular reference to the manual is crucial for successful DIY repairs.
9.2 Encouragement for DIY Repair
Embrace the empowerment of DIY repair with your Briggs & Stratton engine! The repair manual equips you with clear instructions and troubleshooting steps‚ making even complex tasks manageable. DIY repair saves money‚ enhances your mechanical skills‚ and gives you a sense of accomplishment. Whether you’re a novice or experienced‚ the manual’s guidance ensures confidence in tackling repairs. Gather the necessary tools‚ follow safety guidelines‚ and take pride in maintaining your engine. DIY repair is not only cost-effective but also a rewarding learning experience.
9.3 Importance of Referencing the Manual
Referencing the repair manual is crucial for accurate and safe repairs. It provides precise instructions‚ model-specific details‚ and troubleshooting guidance tailored to your engine. The manual ensures you understand technical terminology and diagrams‚ helping you avoid costly mistakes. By following the manual‚ you can identify the correct tools and parts needed‚ perform maintenance effectively‚ and diagnose issues accurately. Consistently referencing the manual ensures your repairs are reliable and your engine performs at its best. It’s your key to successful DIY maintenance and repair.